Getting Started
This guide walks you through signing in to FlowForger, accepting the terms, optionally setting up your own Azure AD app registration, and choosing an environment so you can start working with Power Automate flows.
Prerequisites
Before you begin, make sure you have:
- A Microsoft 365 work or school account with access to at least one Power Platform environment
- A Dataverse environment (Developer, Sandbox, or Production) that your account can access
- A modern web browser (Edge, Chrome, Firefox, or Safari)
Note: FlowForger requires Azure AD authentication. Personal Microsoft accounts (outlook.com, hotmail.com) are not supported.
Signing In
When you open FlowForger, you are presented with the login page.
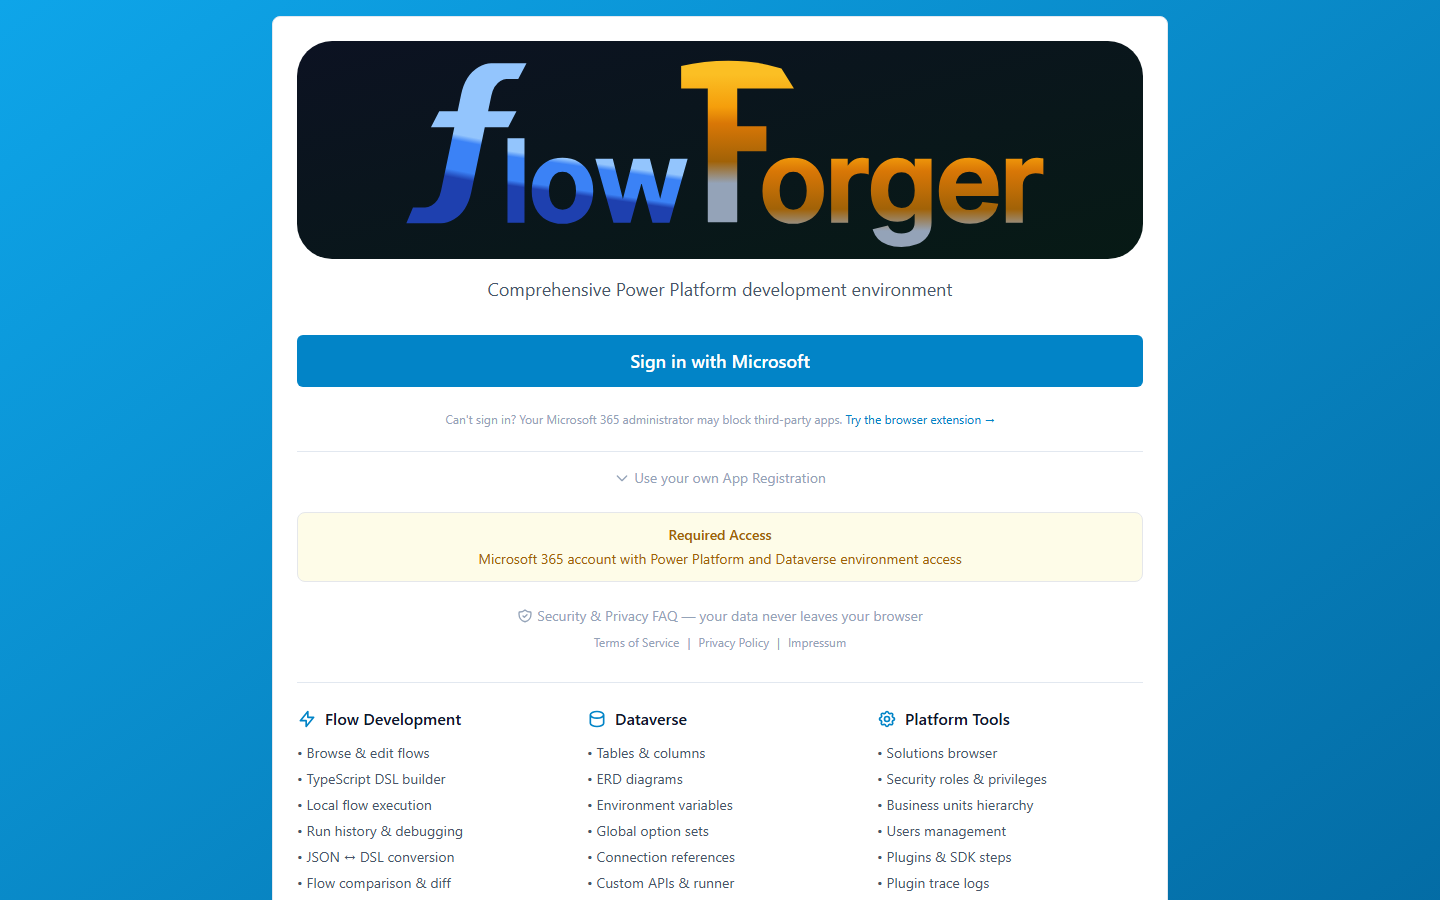 The FlowForger login page showing the sign-in button and feature overview
Steps to sign in
- Click the Sign in with Microsoft button.
- A Microsoft popup window appears asking you to select your work or school account.
- If this is your first time, Microsoft asks you to grant consent for FlowForger to access your profile and Power Platform resources.
- FlowForger shows its Terms of Service & Privacy Policy screen (see below). Accept both to continue.
- You land on the Home dashboard.
Terms of Service and Privacy Policy
The first time you sign in, and again whenever the terms change, FlowForger asks you to review them before you can use the app:
- Open Terms of Service and Privacy Policy (each opens in a new tab) to read them.
- Check I have read and accept the Terms of Service and I have read and accept the Privacy Policy.
- Click Continue.
If the check cannot reach the FlowForger server, a Connection Error box appears with Try Again and Log out buttons.
Required access
FlowForger requires a Microsoft 365 account with Power Platform and Dataverse environment access. A Required Access notice below the sign-in options reminds you of this.
Feature overview
The login page displays three columns summarizing what FlowForger offers:
- Flow Development -- Browse and edit flows, TypeScript DSL builder, local flow execution, run history and debugging, JSON-to-DSL conversion, flow comparison and diff, flow visualization, version history, and deployment to Dataverse.
- Dataverse -- Tables and columns, ERD diagrams, environment variables, global option sets, connection references, custom APIs, and web resources.
- Platform Tools -- Solutions browser, security roles and privileges, business units, users management, plugins and SDK steps, plugin trace logs, multi-environment support, and Excel export.
The login page also links to the Security & Privacy FAQ, the Terms of Service, the Privacy Policy, and the Impressum.
Signing In with the Browser Extension
Some organizations block consent to third-party apps, so Sign in with Microsoft cannot be approved. For these tenants (and for Dataverse for Teams environments, where tenant-level app consent is not available), FlowForger offers an optional browser extension for Microsoft Edge.
- When the extension is not installed, the login page shows Can't sign in? Your Microsoft 365 administrator may block third-party apps. Try the browser extension →. The link opens an information page (
/extension) with installation steps. - The extension uses the tokens your own signed-in Microsoft tabs already have. Open a Microsoft service such as make.powerautomate.com or your Dataverse environment in another tab and work with it as usual.
- Back on the FlowForger login page, a Use browser extension button appears. Click it to sign in.
If no tokens have been captured yet, FlowForger asks you to open make.powerautomate.com or your Dataverse environment in another tab, use it, and try again.
When you sign in through the extension, the user menu has no Sign Out entry (the session is managed by the extension) and your settings are kept in this browser only. To sync them across devices, create a FlowForger Portal account with your email address (see FlowForger Portal account below).
Using Your Own App Registration
FlowForger ships with a default Azure AD application. If you prefer to use your own app registration (for example, to control permissions within your organization), you can configure a custom Client ID directly on the login page.
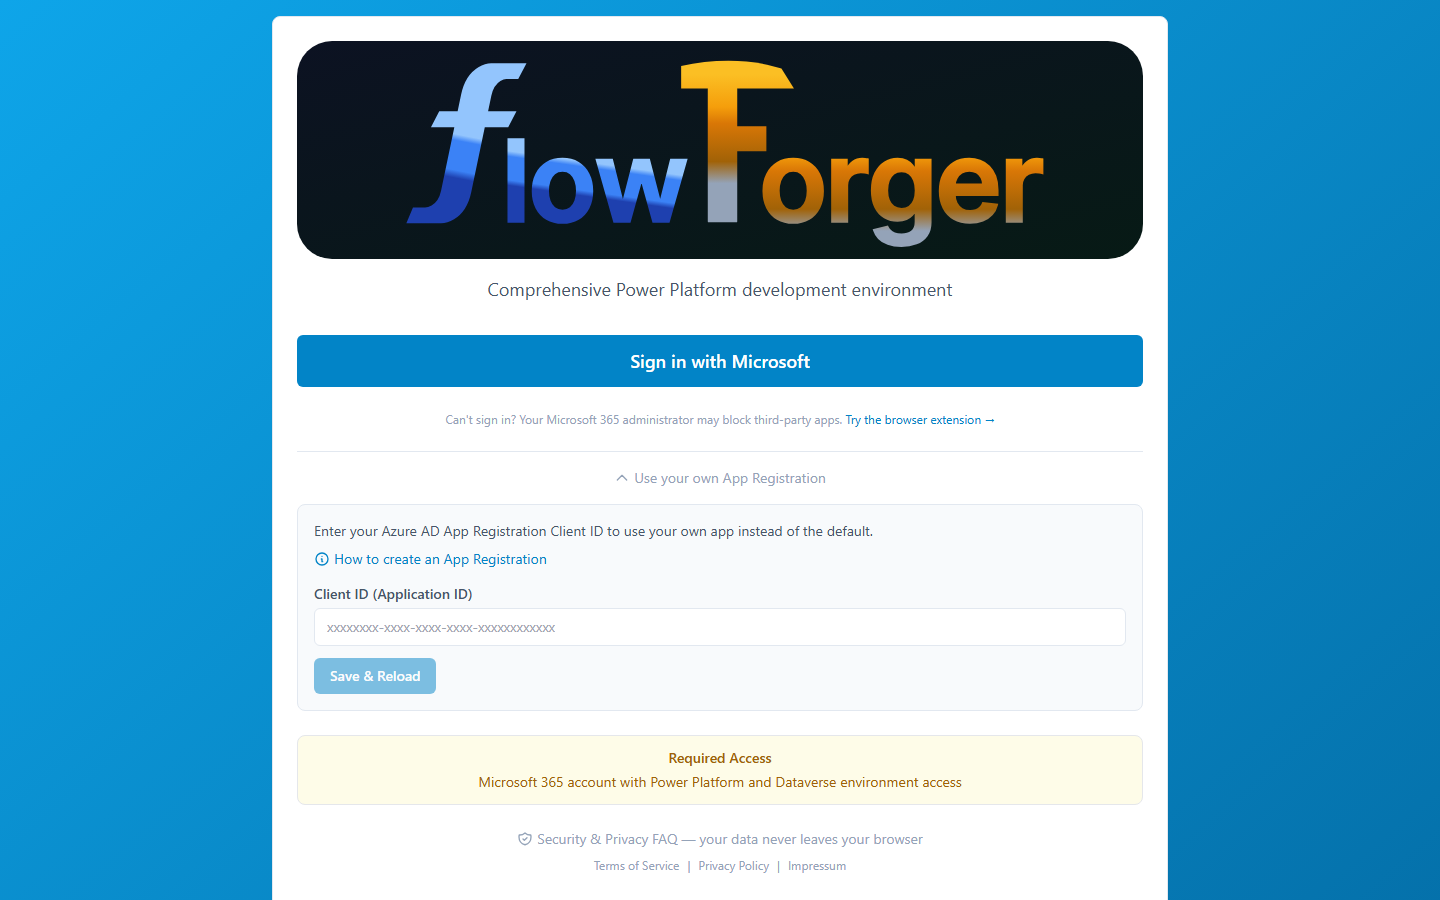 The custom app registration section expanded below the sign-in button
Steps
- On the login page, click Use your own App Registration (below the sign-in button).
- A panel expands with a text input for your Client ID (Application ID).
- Enter the Application (client) ID from your Azure AD app registration.
- Click Save & Reload. The page reloads with your custom app registration active.
- Click Sign in with Microsoft to sign in using your app.
If you are currently using a custom Client ID, the text changes to "Using custom App Registration" and the panel shows the first characters of your ID. You can click Reset to Default to revert to the built-in app registration.
A link labeled How to create an App Registration takes you to the step-by-step App Registration Guide (see below).
Activating your FlowForger account
With your own app registration, the FlowForger server cannot verify your sign-in by default. The Terms of Service screen then shows an extra box, Activate your FlowForger account (recommended), with two options:
- Connect Microsoft account -- Opens a Microsoft consent window that lets the FlowForger API know who you are. Nothing needs to be configured in your app registration for this. If your organization requires administrator approval, ask your Azure AD administrator, or use the email option instead.
- Send verification link -- Enter your email address and FlowForger emails you a sign-in link (valid for 15 minutes).
Either option gives you a full account: settings sync, flow backups, and saved diagrams. You can also click Continue without an account; everything is then kept in this browser only.
FlowForger Portal Account
Your Microsoft 365 sign-in gives FlowForger access to your environments. Account features such as settings sync across devices, flow backups, and saved ER diagrams need a FlowForger Portal account on the FlowForger server.
- With the default Sign in with Microsoft, the account is created for you.
- With the browser extension, the Settings page shows Sync settings across devices with a FlowForger Portal account. Enter your email address, accept the terms, and click Send sign-in link.
- With your own app registration, use Connect Microsoft account or Send verification link on the Terms of Service screen (see above).
The email you receive contains a link that opens a Sign in to FlowForger Portal page. Click Sign in to finish. If the link has expired or was already used, request a new one.
Note: If your account has been suspended, FlowForger shows a full-screen Access suspended notice with a Sign out button instead of the app.
App Registration Guide
If you need to create your own Azure AD app registration, FlowForger includes a built-in guide accessible from the login page. You can also reach it directly at /app-registration-guide.
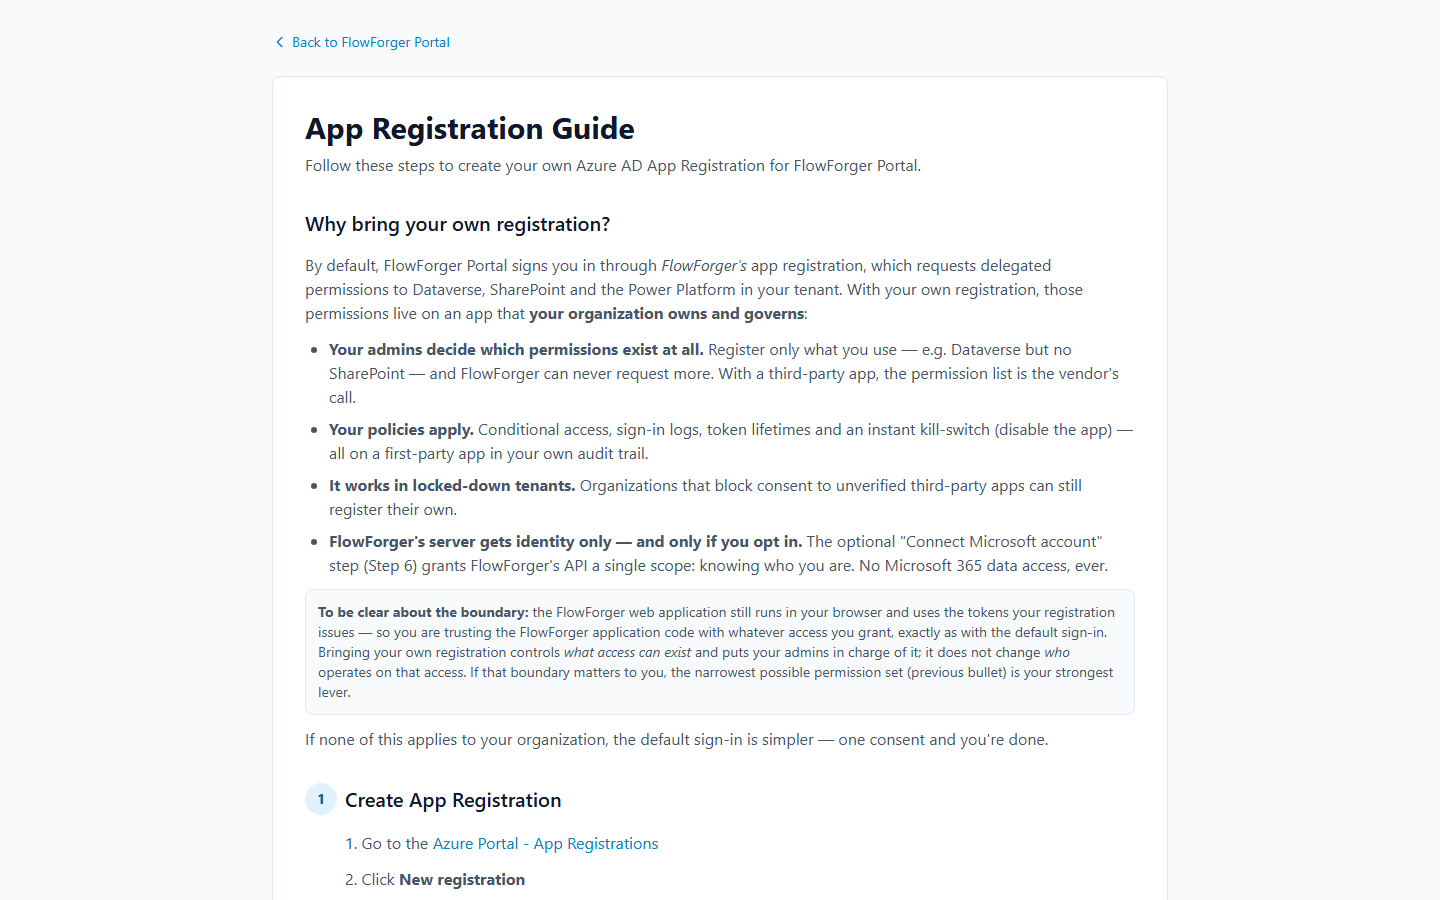 The App Registration Guide with step-by-step instructions
The guide starts with Why bring your own registration?: with your own registration, your administrators decide which permissions exist, your conditional access and sign-in policies apply, and it works in tenants that block third-party apps. FlowForger still runs in your browser with the tokens your registration issues.
Step 1: Create App Registration
- Go to the Azure Portal - App Registrations.
- Click New registration.
- Enter a name (for example, "FlowForger Portal - My Organization").
- Under Supported account types, select Accounts in this organizational directory only (Single tenant).
- Click Register.
- Copy the Application (client) ID -- you will need this later.
Step 2: Configure Authentication
- In your app registration, go to Authentication.
- Click Add a platform and select Single-page application.
- Set the Redirect URI to:
https://flowforger.net - Under Implicit grant and hybrid flows, enable:
- Access tokens (used for implicit flows)
- ID tokens (used for implicit and hybrid flows)
- Click Configure.
Step 3: Add API Permissions
Go to API permissions and add the following permissions. All permissions are Delegated type.
Required -- Core Functionality
| API | Permission | Purpose | Admin Consent |
|---|---|---|---|
| Microsoft Graph | User.Read | Sign in and read user profile | No |
| Dynamics CRM | user_impersonation | Access Dataverse as organization user | No |
Recommended -- Environment and Flow Management
| API | Permission | Purpose | Admin Consent |
|---|---|---|---|
| PowerApps Service | User | Auto-discover Power Platform environments | No |
| Power Automate | Flows.Manage.All | Manage flows | No |
| Power Automate | Approvals.Manage.All | Manage approvals | No |
| Power Automate | User | Access Flow service as signed-in user | Yes |
Optional -- Connector Permissions
These are only needed if you run flows locally that use these connectors.
SharePoint:
| API | Permission | Purpose | Admin Consent |
|---|---|---|---|
| SharePoint | AllSites.Write | Read/write items in site collections | No |
| SharePoint | TermStore.ReadWrite.All | Managed metadata operations | Yes |
Outlook / Exchange:
| API | Permission | Purpose | Admin Consent |
|---|---|---|---|
| Microsoft Graph | Mail.ReadWrite | Read and write emails | No |
| Microsoft Graph | Mail.Send | Send emails | No |
| Microsoft Graph | Calendars.ReadWrite | Full access to calendars | No |
| Microsoft Graph | Contacts.Read | Read user contacts | No |
| Microsoft Graph | Contacts.Read.Shared | Read user and shared contacts | No |
Tip: Some APIs may not appear in the default list. To find them, click Add a permission, select APIs my organization uses, and search by name or by these Application IDs:
- Dynamics CRM:
00000007-0000-0000-c000-000000000000- PowerApps Service:
475226c6-020e-4fb2-8a90-7a972cbfc1d4- Power Automate:
7df0a125-d3be-4c96-aa54-591f83ff541c- SharePoint:
00000003-0000-0ff1-ce00-000000000000
Step 4: Grant Admin Consent (if required)
Most permissions allow user consent. Only two permissions require admin consent:
- Power Automate: User -- Required for full Flow service access
- SharePoint: TermStore.ReadWrite.All -- Only needed for managed metadata operations
To grant admin consent:
- In API permissions, click Grant admin consent for [Your Organization].
- Or ask your Azure AD administrator to grant consent.
Tip: You can start with just the required permissions and add more later as needed. FlowForger will prompt you when additional permissions are required for specific features.
Step 5: Use Your App Registration
- Go back to the FlowForger login page.
- Click Use your own App Registration.
- Enter your Application (client) ID.
- Click Save & Reload.
- Sign in with your Microsoft account.
Step 6: Connect Your FlowForger Account (optional)
On first use, FlowForger shows a Connect Microsoft account button (see Activating your FlowForger account). It grants the FlowForger API permission to know who you are (access_as_user) and nothing else: no access to your Dataverse, SharePoint, or other Microsoft 365 data. Those calls always go directly from your browser to Microsoft.
Security Information
- All permissions are delegated -- FlowForger can only access resources that the signed-in user has permission to access.
- No client secret required -- FlowForger is a single-page application (SPA) that uses the OAuth 2.0 authorization code flow with PKCE, which does not require a client secret.
- Tokens stay in your browser -- Access tokens are stored in your browser's localStorage and are never sent to FlowForger servers.
Initial Configuration
After signing in for the first time, FlowForger automatically discovers your Power Platform environments and selects one for you. If automatic discovery does not work (for example, because the PowerApps Service permission is missing or has no admin consent), the top header shows a warning with a Configure Manually button that opens Settings, where you can enter your Dataverse URL by hand.
Selecting an Environment
The environment is selected using the Environment dropdown in the top header bar. See Home and Layout for details on the top header.
Settings
The Settings page (/settings, at the bottom of the sidebar) holds manual environment configuration, app permissions, display options, flow backups, and the DSL generator and parser options. See Settings for a description of every section.